[1]
[1].
Key to this is to allow for everything needing different cooking times. The best outcome is things are cooked but still have bite. i.e you have a piece of apple, the carrots have crunch.
Also make sure the pasta does not end up over cooked.
.
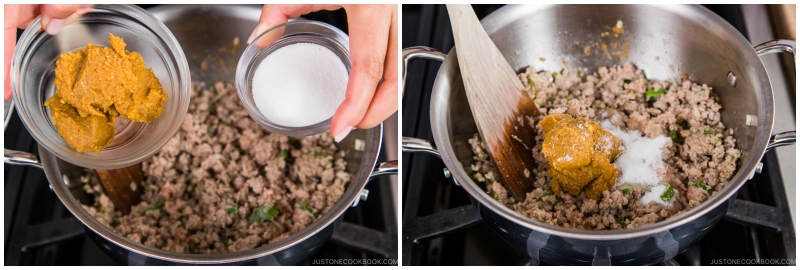
Marinade
50 / 50 Rosemary & Basil
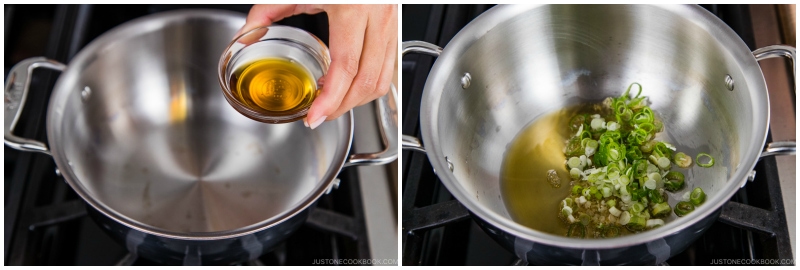
Sesome Oil
White Miso
Garlic
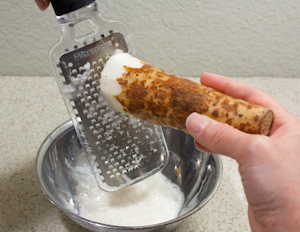
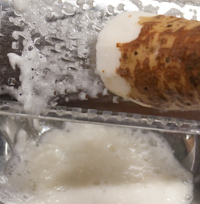
Ginger fresh not powder.
Pestle & Mortar into a paste.
i.e qty for 1 kg meat, 1/4 cup Basil, 1/4 Rosemary, 2 heaped tsp Miso, Garlic & Ginger to taste (use fresh not powder ) Oil to make a thick paste.
The Meat
It should be thin cut about 1mm to 2 mm thick slices / strips cut CROS GRAIN
Depending on quality, it will need tenderizing.
This can be with a tenderizing hammer. Hit each one to break fibre. Down side of this is with you need to cut the fibres but not thin the meat.
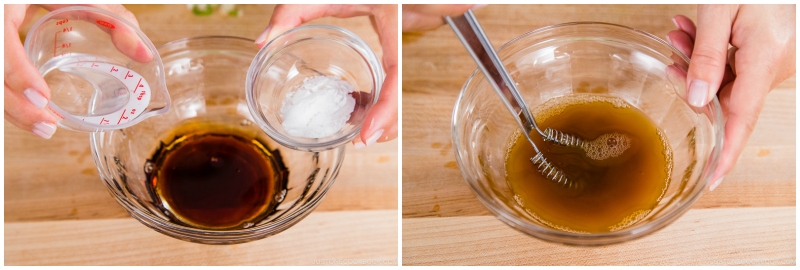
Baking Soda – This works well but monitor the time carefully.
Dry the meat you can rub soda on to meat.
I prefer to dilute some soda in water and soak meat.
VERY IMPORTANT – MAX 15 mins. Longer will not tenderize more but will affect the texture and may make it chewy.
Salt- This works well but no my choice for this as it draws the moisture out. On a thick cut thats ok but on slices all moisture is important.
Acid Cook – This and be done by resting the meat in an acid :
vinegar (any kind, but be aware of its effect on flavor)
Worcestershire, tomato, teriyaki, or soy sauce
wine or beer
lemon or lime juice
yogurt or buttermilk
Kiwi fruit is good.
NOTE: Just because it is citric it does not mean it can acid cook.

Depending on thickness 1 to 2 hours. More will not help on thin cut.
After tenderizing , cover the meat pieces and leave in cool place for min 4 hours, over night is fine.
NOTE: Tenderizing is a separate step to marinading.
Main Dish
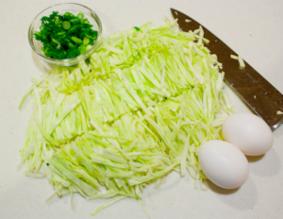
Carrot
Onion
Pepper, any colour is fine, green can be a little sour.
Tomatoes – quartered
Apple – At the end , peel and big chunks
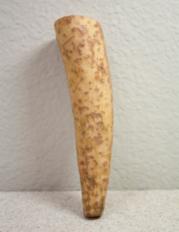
Ginger – Fresh
Garlic
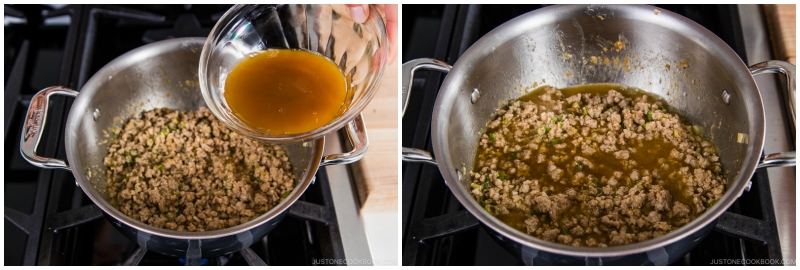
Stock – depends on the pan size, enough to mostly cover things.
Pasta shapes better than spaghetti
Method
Pre heat oven 160 C this is important. Do not skip.
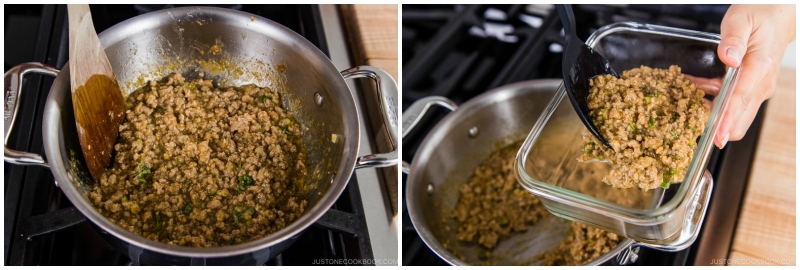
Except for the Apple I peel, chunky chop in advance. I use bowls which are used based on cooking time.
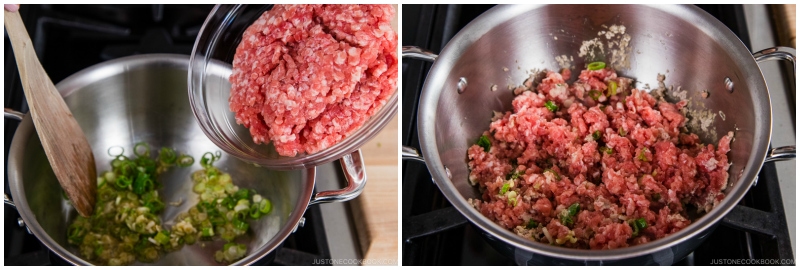
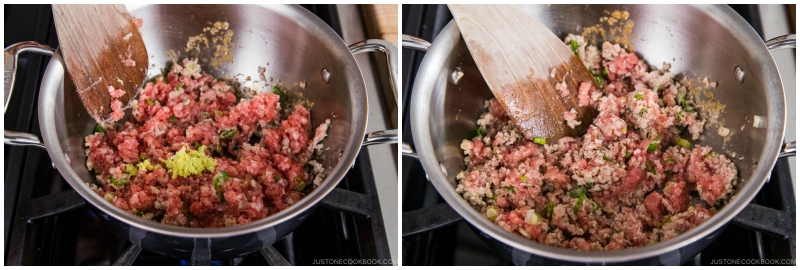
Brown the meat can be done in the casserole dish
Gentle fry onions, add carrot cubes/ slices pieces.
Start to cook the pasta – no more than 3 mins boiling. It should have just started to soften a little. Cook less than Al Denti – Remove from boiling water and set aside.
The water from pasta can be used to make stock.
Add, onions to meat in casserole dish add a little stock, bring to gentle bubble boil.
Fry the peppers for 1 min – Re use the pan and oil from the onions.
Add peppers and the tasty oil to the casserole dish. There should only be a little oil
THE GOAL IS NOT TO LOOSE A Flavour
Add pasta
Add stock as needed.
Cooking in oven 15 – 20 mins
Stir in quartered toms and apple chunks.
Add garlic and ginger – use a press.
Check if more stock is needed. The final goal is there is a juice but the dish is not drowned in liquid.
A nice touch is sprinkle some cheese .
Cook 10 – 15 mins.
Serve